



A flawless tile installation doesn’t start with the tile — it starts beneath it. Your subfloor is the foundation of your flooring project, and preparing it correctly is the single most important step to ensure long-lasting results. Skipping or rushing subfloor preparation can lead to cracking, uneven tiles, and costly repairs down the road. Whether you’re a DIY enthusiast or planning to hire a professional, understanding how to properly remove old flooring, level and clean the surface, address moisture issues, and install cement backer board will set your project up for success.
Step-by-Step Guide to Preparing a Subfloor for Tile Installation
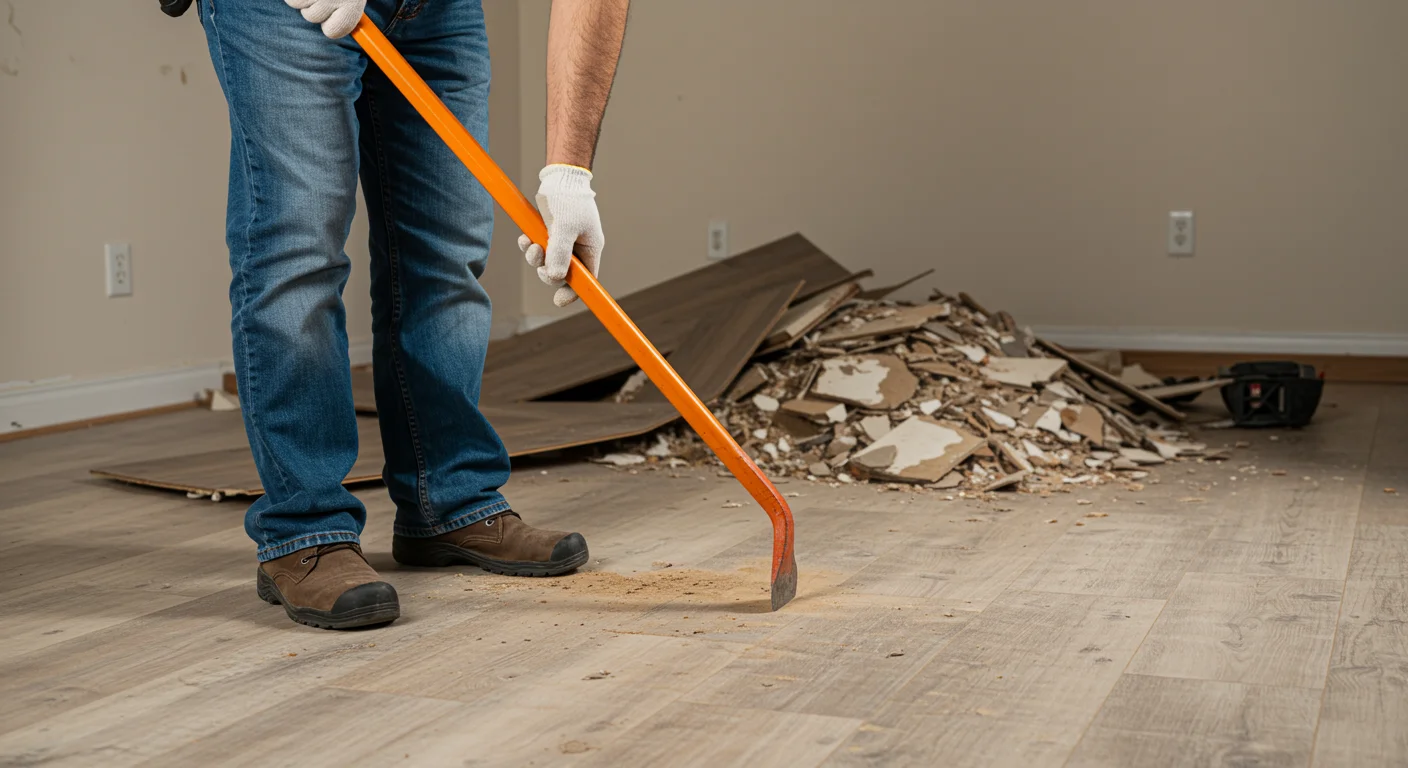
Step 1: Remove Old Flooring
-
What to Do: Take up any carpet, laminate, vinyl, or old tile. Remove nails, staples, or adhesive residue.
-
Why It Matters: Old materials can create uneven surfaces and weaken the bond between tile and subfloor.
-
Pro Tip: Use a floor scraper for stubborn glue or mortar.
Step 2: Clean the Subfloor
-
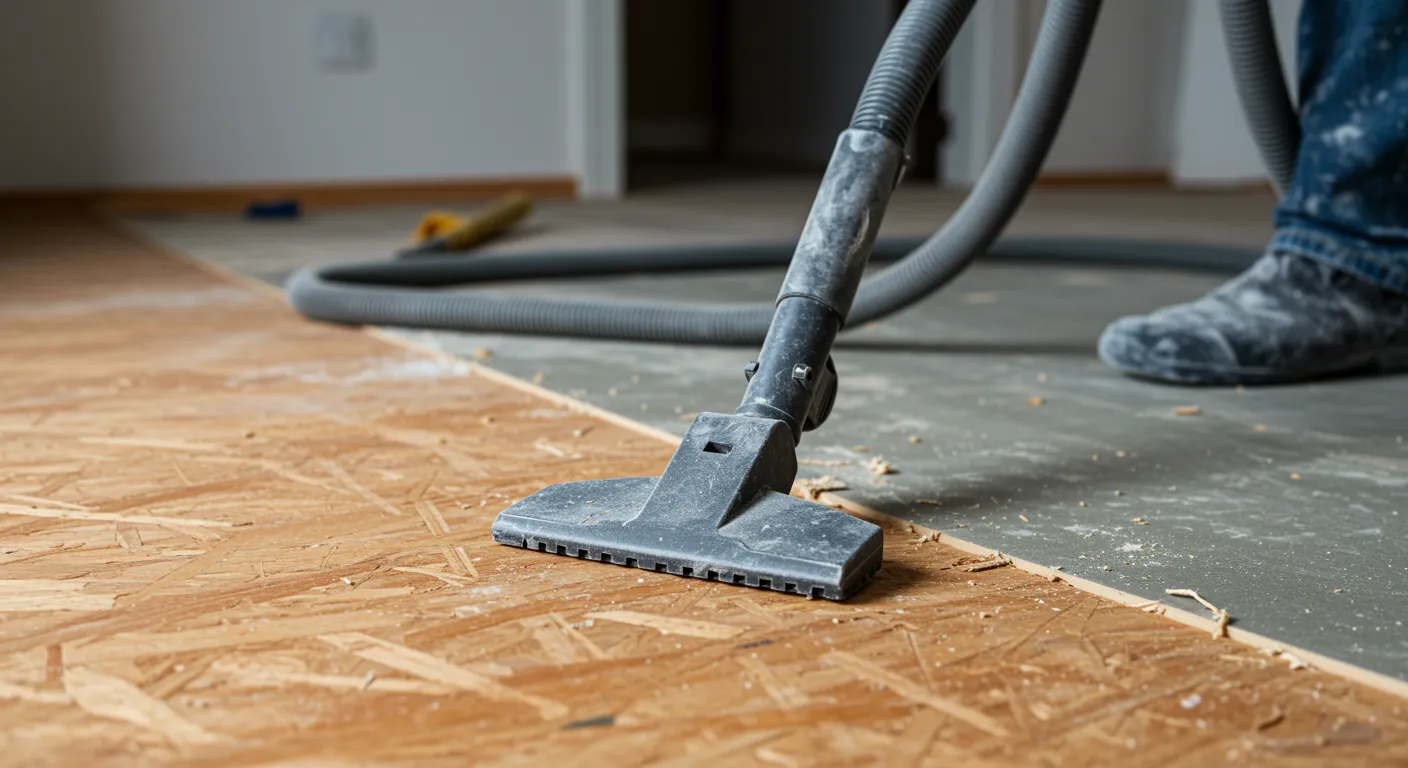
What to Do: Sweep and vacuum thoroughly to remove dust, debris, and loose particles.
-
Why It Matters: A clean surface ensures the thin-set mortar adheres properly.
-
Pro Tip: For wood subfloors, sand down high spots and check for protruding screws.
Step 3: Check & Level the Subfloor
-
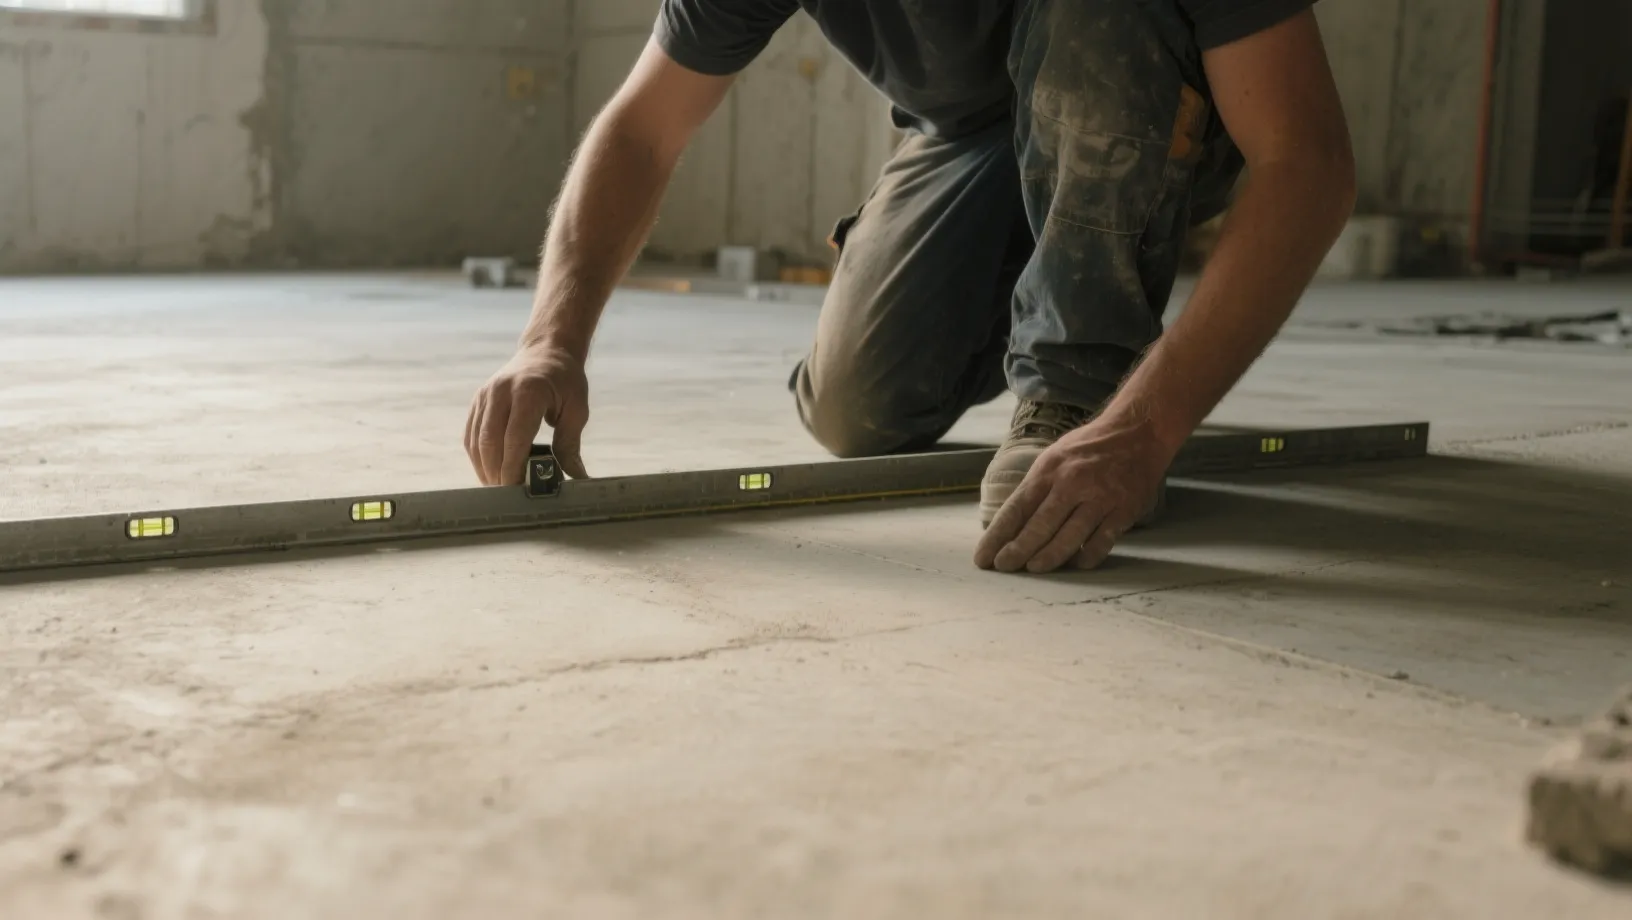
What to Do: Use a straightedge to find dips or humps. Fill low spots with leveling compound and sand down high areas.
-
Why It Matters: Uneven subfloors lead to lippage (edges sticking up) and premature cracking.
-
Pro Tip: Aim for no more than 1/8″ variation over 10 feet.
Step 4: Address Moisture Issues
-
What to Do: For concrete, check moisture content with a moisture meter. For wood, ensure there are no leaks or high humidity.
-
Why It Matters: Excess moisture can break down adhesives, warp materials, and encourage mold.
-
Pro Tip: Use a waterproofing membrane if installing in bathrooms, kitchens, or basements.

Step 5: Install Cement Backer Board
-
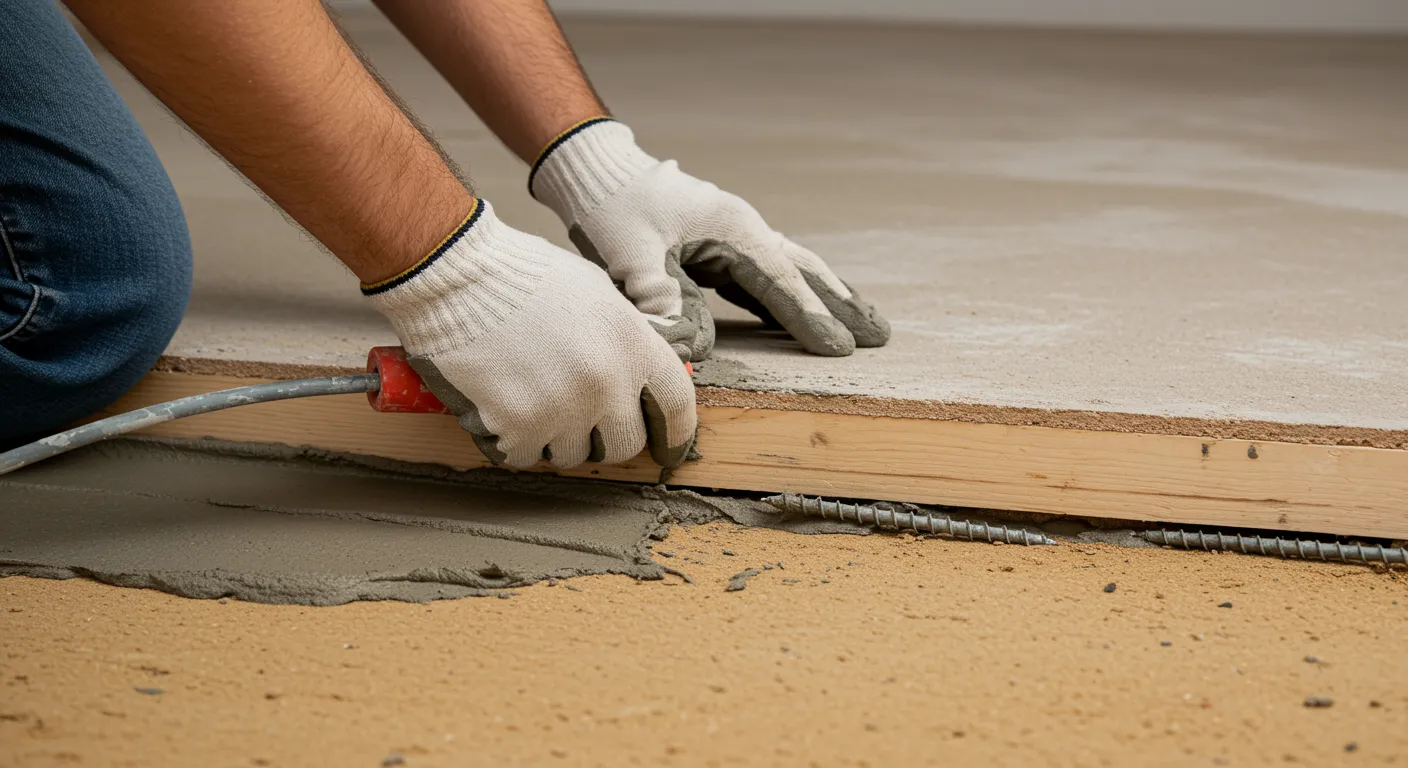
What to Do: Lay cement backer board over wood subfloors, using thin-set mortar and cement board screws.
-
Why It Matters: Backer board provides a stable, moisture-resistant surface for tile.
-
Pro Tip: Stagger seams and leave a small gap at edges for expansion.
Step 6: Plan the Tile Layout
-
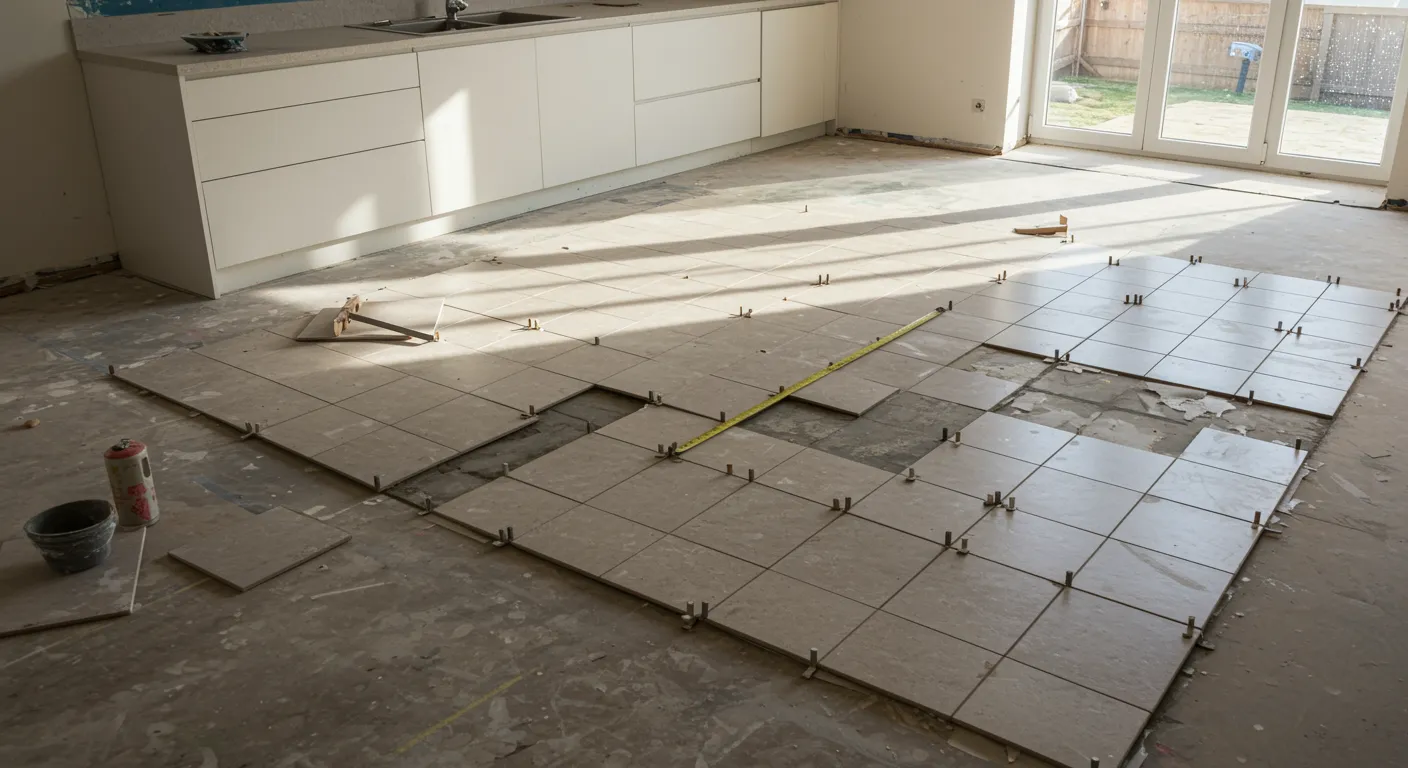
What to Do: Dry-lay tiles to visualize the pattern, starting from the center of the room and working outward.
-
Why It Matters: Prevents awkward cuts and ensures symmetry in the final installation.
-
Pro Tip: Mark reference lines with a chalk line for accurate placement.
Other Key Considerations
-
Always follow the tile manufacturer’s and mortar manufacturer’s installation guidelines.
-
If in doubt about moisture issues, use a vapor barrier or membrane.
-
Check for floor deflection — too much movement in a wood subfloor can cause cracks.
-
Use the right thin-set mortar for your tile type (especially for large-format tiles).
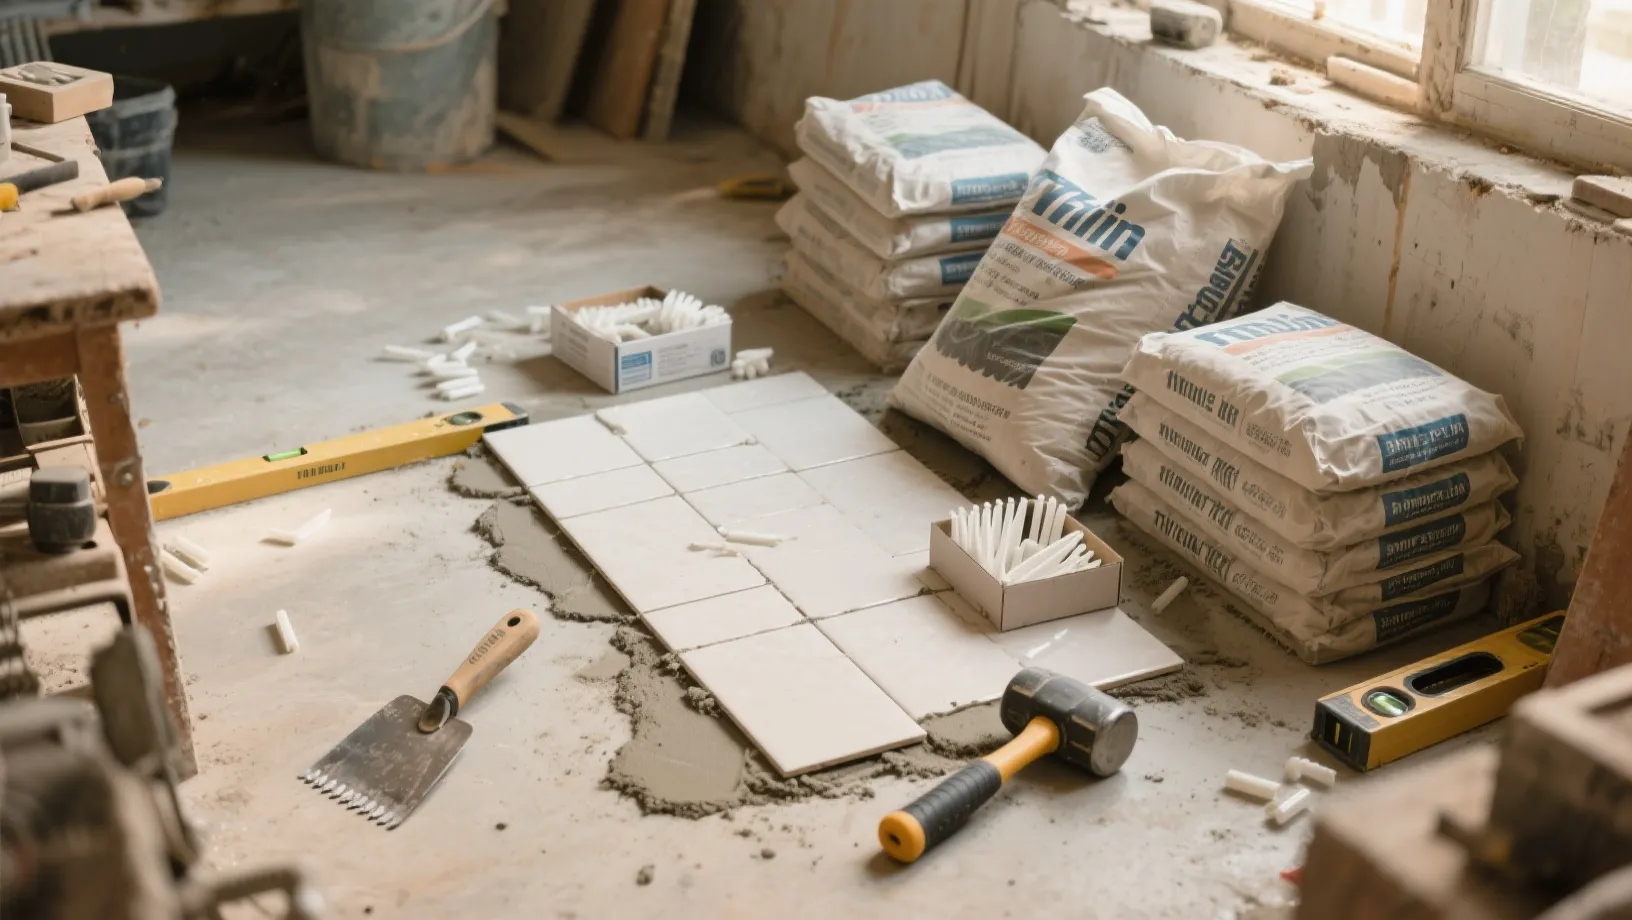
Shop Tile Installation Essentials at TileDecor.com
At Tile Decor, we don’t just sell tile — we help you install it right. Browse our range of cement backer boards, leveling compounds, waterproofing membranes, and installation tools. Whether you’re laying tile in your bathroom, kitchen, or outdoor patio, we’ve got everything you need for a professional finish.
Common FAQs
Can I install tile directly on plywood?
Yes, but it’s not recommended for long-term durability. Use cement backer board for best results.
Do I always need to level my subfloor before tiling?
Yes, even small variations can cause tiles to crack or lift over time.
How long should I wait after applying a leveling compound before tiling?
Typically 24 hours, but check the product’s instructions.
Can I tile over old tile?
Yes, if the old tile is solid, level, and properly cleaned — but it adds height.
What’s the best way to check for moisture in concrete?
Use a moisture meter or tape a plastic sheet to the floor for 24 hours and look for condensation.
Do I need to leave gaps in cement backer board?
Yes, small gaps prevent cracking from expansion.