



Regrouting tile is a practical DIY project that can rejuvenate the appearance of your tiled surfaces. Whether you’re dealing with discolored, cracked, or deteriorating grout, this comprehensive guide will walk you through the process step-by-step.
Why Regrout in the First Place?
Grout may seem like a small part of your tiled surface, but it plays a big role in both functionality and appearance. Over time, grout can become discolored, cracked, crumbly, or even moldy, especially in high-moisture areas like bathrooms and kitchens.
Here’s why regrouting makes sense:
✅ Restores the look of your tiled surfaces without a full replacement
✅ Improves waterproofing and prevents moisture damage
✅ Strengthens tile integrity, preventing loosened tiles
✅ Helps control mold and mildew by removing compromised, porous grout
✅ Boosts resale value with a fresh, clean finish
If your tiles still look good but the grout is shot — regrouting is the smart (and budget-friendly) upgrade.
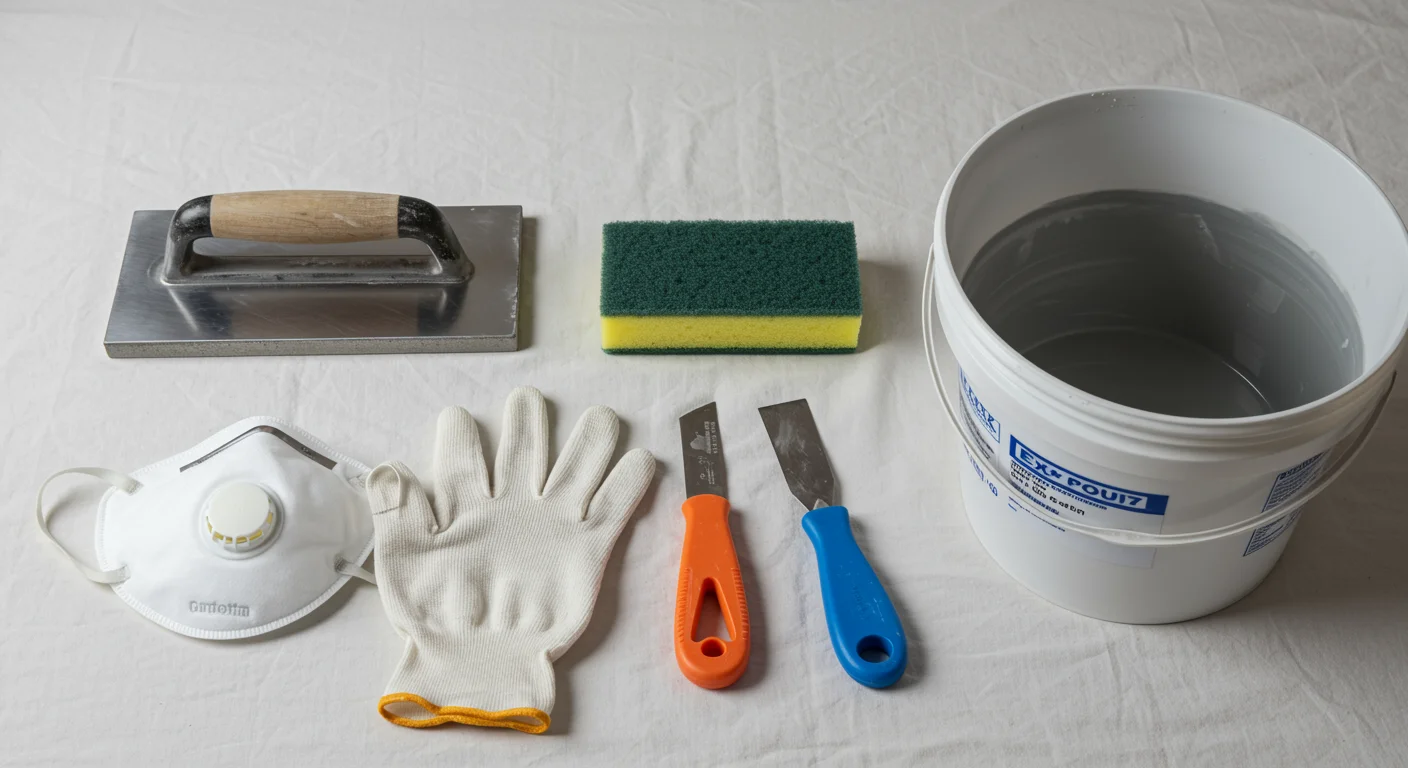
Tools & Materials You'll Need
Tools
-
Oscillating multi-tool with grout removal blade
-
Manual grout removal tool (e.g., carbide-tipped scraper)
-
Grout float
-
Grout sponge
-
Bucket
-
Utility knife
-
Shop vacuum
-
Safety gear: gloves, eye protection, dust mask.
Materials
-
New grout (sanded or unsanded, depending on joint width)
-
Grout sealer
-
Painter’s tape
-
Drop cloths or protective sheeting
How to Clean Vinyl Tile or LVP Flooring — Step-by-Step
Step 1 – Prepare the Area
Tools needed
-
Painter’s tape
-
Drop cloth or protective sheeting
-
Safety gloves, goggles, dust mask
What to do?
-
Remove any furniture or obstacles from the work area.
-
Protect adjacent surfaces with painter’s tape and drop cloths.
-
Ensure the area is well-ventilated.

Step 2 – Remove Old Grout
Tools needed
-
Oscillating multi-tool with grout blade
-
Manual grout saw or scraper
-
Utility knife (for corners or touch-ups)
-
Shop vacuum (for cleanup)
What to do?
-
Use the oscillating multi-tool with a grout removal blade to carefully remove the existing grout between tiles.
-
For tight spots, switch to a manual grout removal tool.
-
Be cautious to avoid damaging the tiles.

Step 3 – Clean the Joints
Tools needed:
-
Bucket
-
Damp cloth or sponge
-
Vacuum
What to do?
-
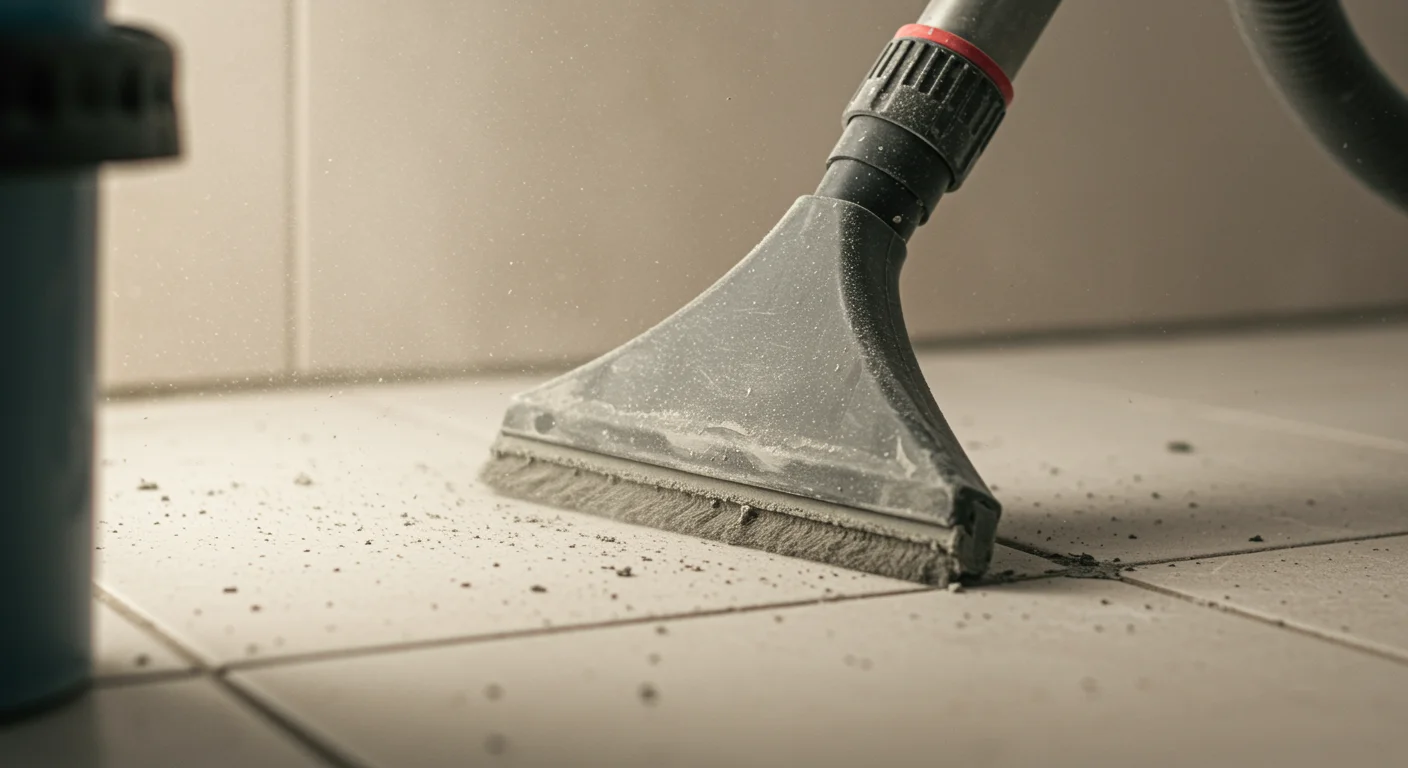
Vacuum the grout lines thoroughly to remove dust and debris.
-
Wipe the tile surfaces with a damp cloth to ensure cleanliness.
Step 4 – Mix New Grout
Tools needed:
-
New grout (sanded or unsanded, based on joint width)
-
Bucket + mixing tool or paddle
-
Grout additive (if required by product)
What to do?
-
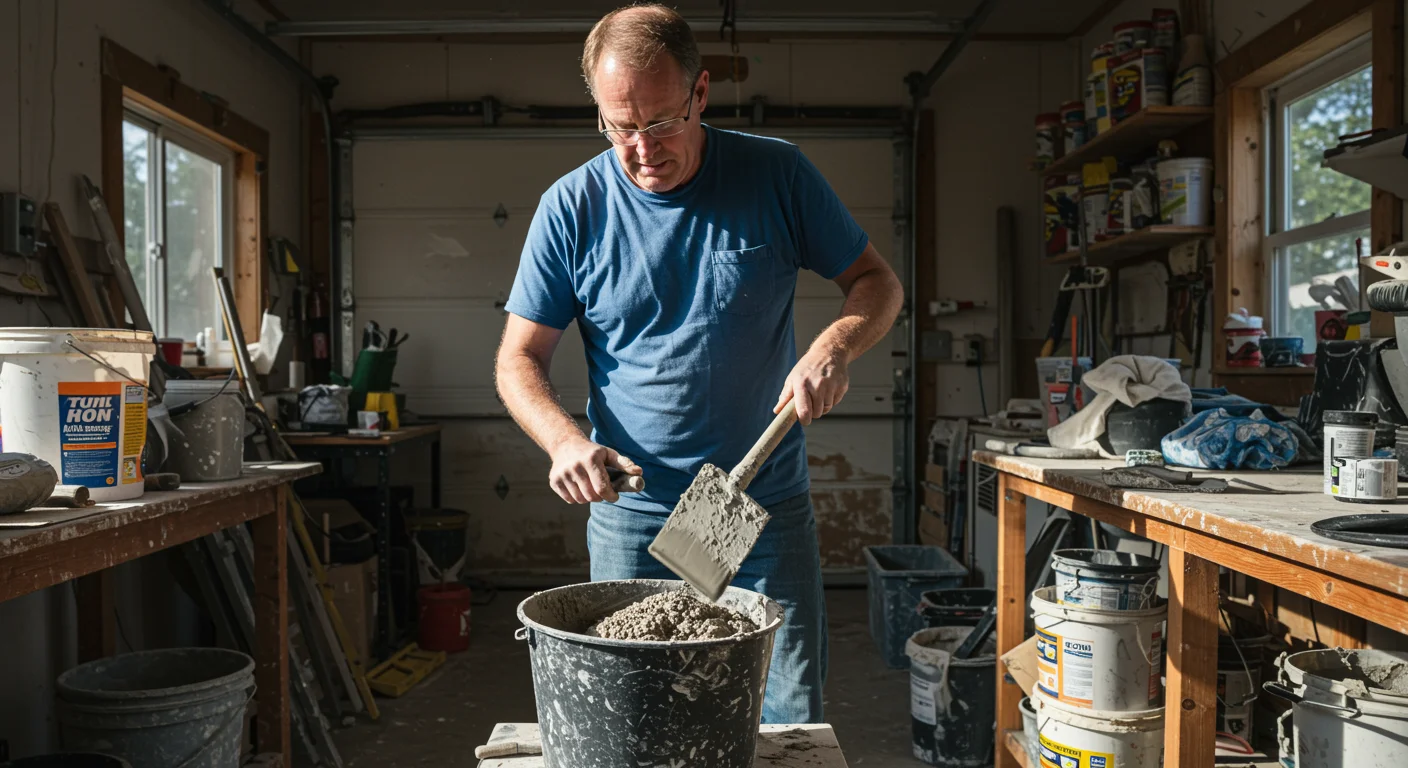
Follow the manufacturer’s instructions to mix the grout to a peanut butter-like consistency.
-
Let the grout sit (slake) for the recommended time before application.
Step 5 – Apply New Grout
Tools needed:
-
Grout float
What to do?
-
Using a grout float, press the grout into the joints at a 45-degree angle, ensuring full coverage.
-
Work in small sections to prevent the grout from drying out prematurely.
A person mixing grout in a bucket with a paddle, showing smooth peanut butter-like texture.

Step 6 – Clean Excess Grout
Tools needed:
-
Sponge
-
Clean water
What to do?
-
After allowing the grout to set for about 10-15 minutes, use a damp grout sponge to wipe away excess grout from the tile surfaces.
-
Rinse the sponge frequently to maintain cleanliness.
A person mixing grout in a bucket with a paddle, showing smooth peanut butter-like texture.

Step 7 – Final Cleaning
Tools needed:
- Microfiber cloth
What to do?
-
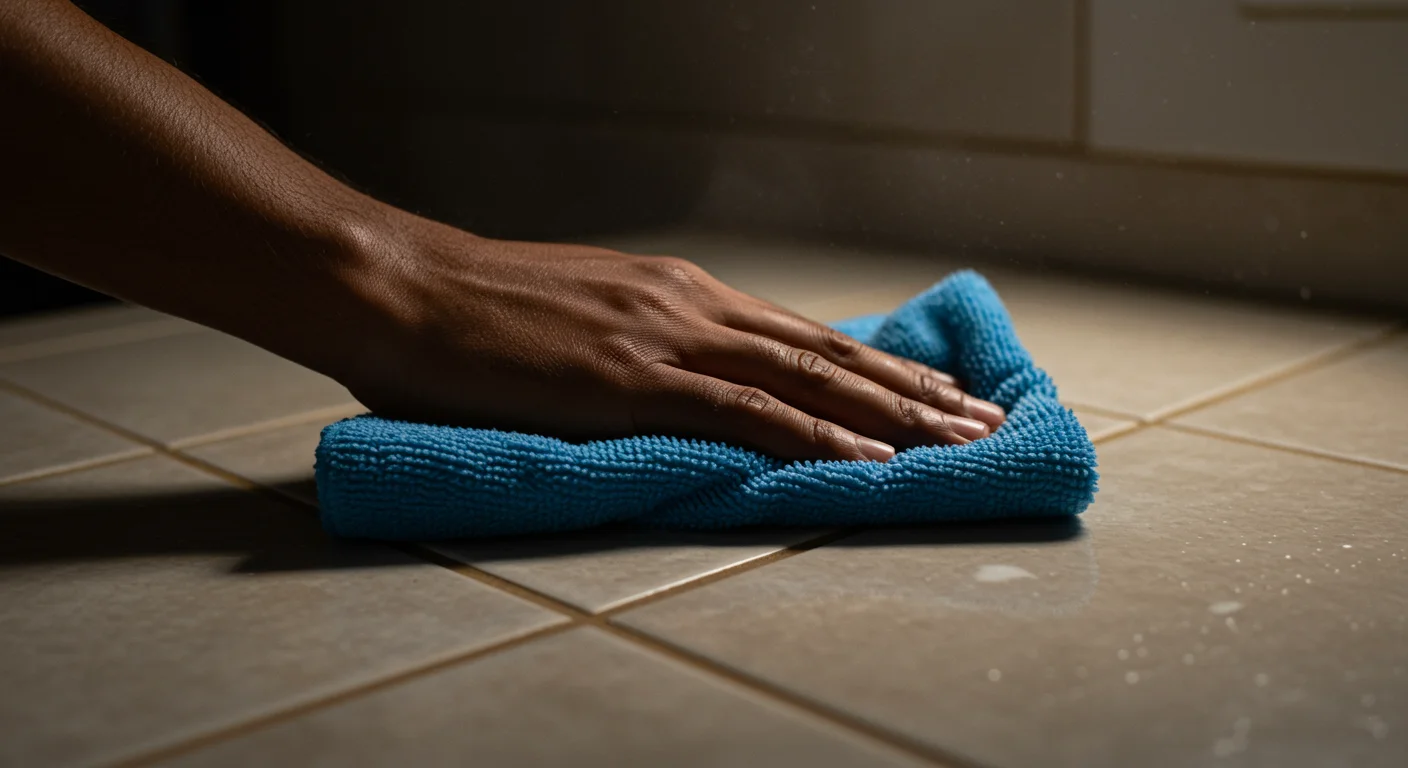
Once the grout has cured (usually after 24 hours), buff the tiles with a soft cloth to remove any remaining haze.
A person mixing grout in a bucket with a paddle, showing smooth peanut butter-like texture.
Step 8 – Seal the Grout
Tools needed:
-
Grout sealer
-
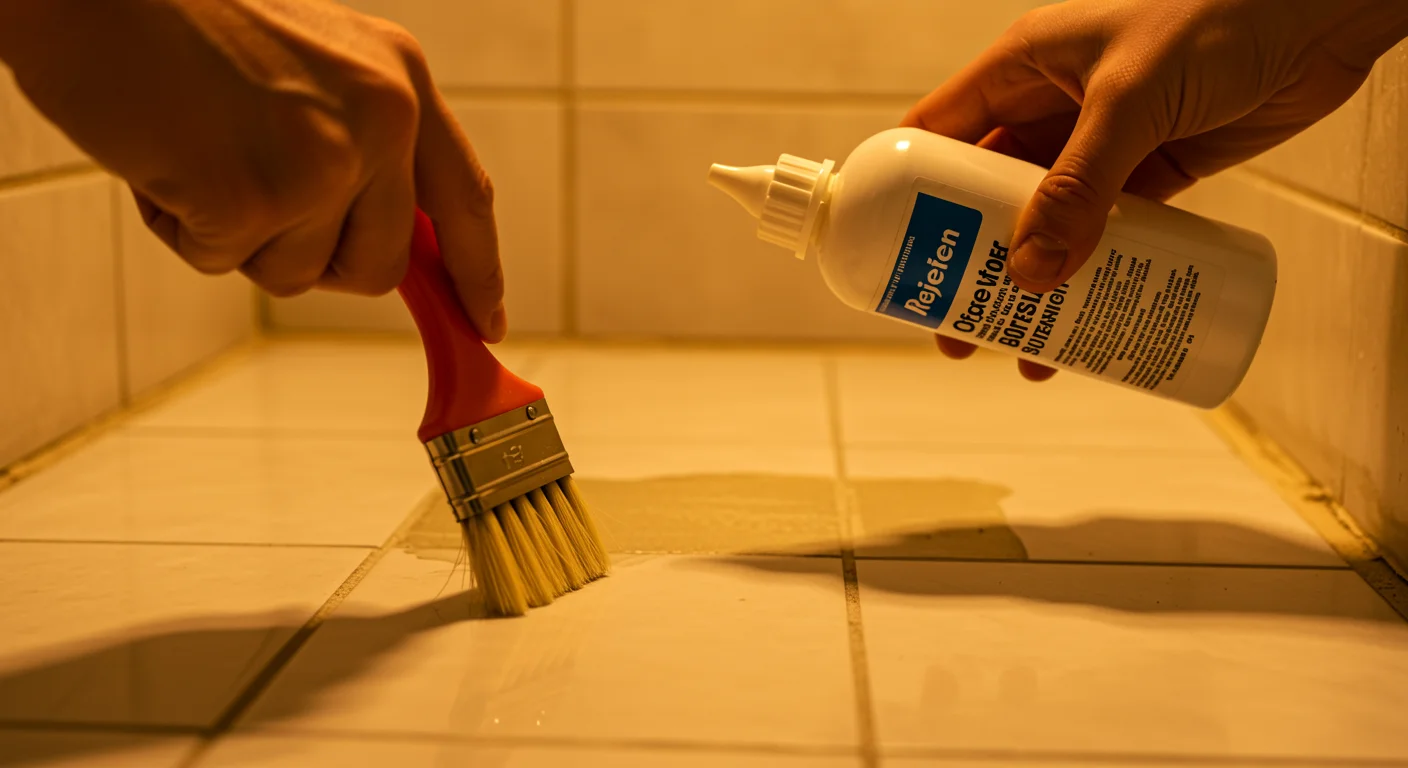
Small brush, applicator tip, or sealer bottle
What to do?
-
Apply a grout sealer to protect against moisture and stains, following the product instructions.
-
Allow the sealer to cure as directed before using the area.
How to Clean and Maintain Grout (After Regrouting)
Once you’ve installed fresh grout, protecting it from grime, soap scum, and mildew is key. Here’s how to maintain your results:
Weekly/Regular Cleaning:
-
Wipe down grout with a damp microfiber cloth.
-
Use a pH-neutral cleaner safe for grout (avoid acidic cleaners like vinegar on sealed grout).
-
Spray daily shower tiles with a gentle leave-on tile cleaner or squeegee moisture off walls.
Deep Cleaning (Monthly or as needed):
-
Use a grout-safe brush and baking soda paste for stains.
-
Rinse thoroughly and dry.
-
Avoid bleach — it breaks down grout over time.
Maintain Sealing:
-
Reseal grout every 6–12 months to protect it from staining and water absorption.
Safety Considerations
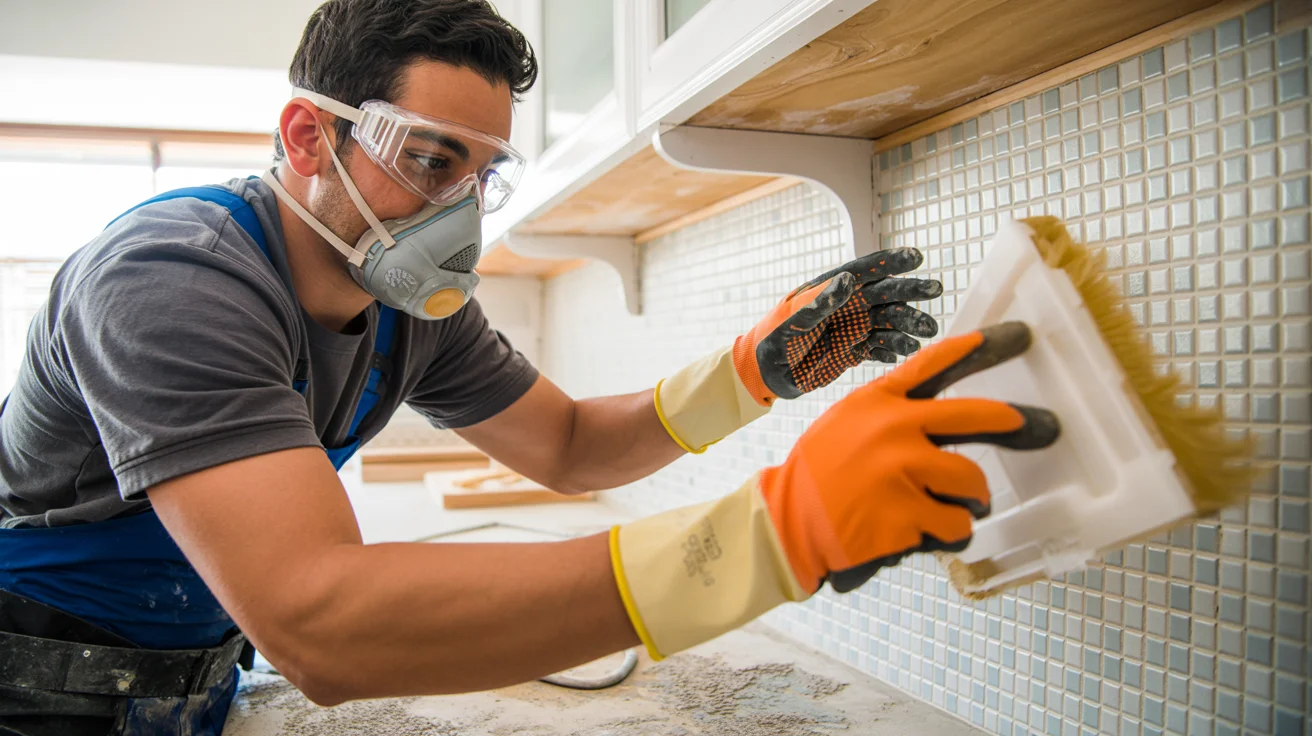
Grout removal and mixing can be dusty and harsh on skin, so proper protection is a must:
-
Wear safety goggles: Flying grout particles are sharp.
-
Use gloves: Cementitious grout and removers are drying to skin.
-
Use a dust mask or respirator: Especially when scraping old grout or using dry mixes.
-
Ventilate the area: Grout sealers and some cleaners contain VOCs. Open windows and use a fan if needed.
-
Keep tools away from children and pets.
Useful Tips for a Successful Regrout
-
Test grout color on a sample tile before committing — color may dry lighter.
-
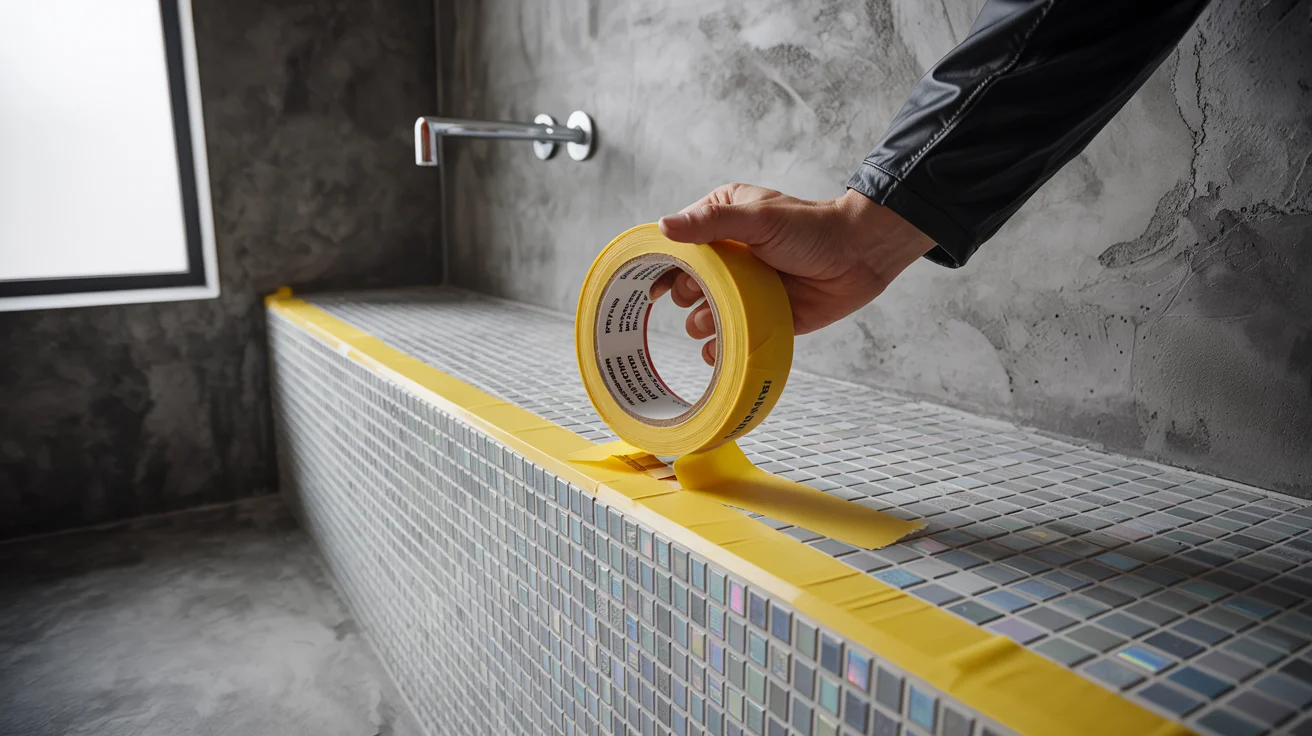
Use painter’s tape around delicate tiles to prevent scratching during removal.
-
Don’t rush cleaning — wiping too soon pulls grout from joints, too late causes haze.
-
Keep joints consistent — work slowly and press grout in firmly for a professional look.
-
Choose the right grout:
-
Sanded for joints 1/8″ or wider
-
Unsanded for narrow joints or soft tile surfaces like glass
-
-
Buy extra grout — it’s better to have too much than run out mid-job.
Final Thoughts

Regular maintenance is key to preserving the beauty and longevity of your tile floors. By following these steps and using appropriate cleaning solutions, you can keep your floors looking their best for years to come.
Regrouting is a cost-effective way to refresh your tiled surfaces without the need for a full renovation. By following these steps and using the appropriate tools and materials, you can achieve professional-looking results. Remember to choose the right type of grout for your specific application and to seal the grout to prolong its lifespan.
Shop Tile Decor's Collection
At Tile Decor, we offer a wide range of grout colors and types to suit every design preference and project requirement. Browse our selection to find the perfect match for your tiles and bring your vision to life.
Common FAQs
Can I apply new grout over old grout?
It’s not recommended. For best results, remove the old grout to ensure proper adhesion of the new grout.
How do I choose between sanded and unsanded grout?
Use sanded grout for joints wider than 1/8 inch and unsanded grout for narrower joints or delicate tiles.
How long does grout take to cure?
Grout typically cures within 24-72 hours, but always refer to the manufacturer’s guidelines.
Do I need to seal the grout?
Yes, sealing grout helps protect it from moisture and stains, extending its durability.
Can I regrout over cracked grout lines?
Cracked grout should be removed before applying new grout to ensure a strong, lasting bond.
Should I reseal grout or natural stone tile?
Yes! Sealing helps prevent stains and moisture damage. Reseal every 6–12 months depending on traffic.
Is regrouting a DIY-friendly project?
Yes, with the right tools and careful attention to detail, regrouting can be accomplished by most DIY enthusiasts.